
Vinyl floors have come a long way since their rise in popularity back in the 1960s and 70s. A typical low-cost option for kitchens, bathrooms, and basements, vinyl floors come in an array of tiles and planks to match the ideal aesthetic you’re looking for. Want to go for a stone or wooden look? How about ceramic? No problem as vinyl comes available in the style you prefer. In addition to being cost-effective, vinyl floors also happen to be waterproof as well. This means you don’t have to worry about too much moisture damaging your floors as with wood or laminate.
Still, just because vinyl is durable, doesn’t mean it’s resistant to wear and tear just like any other material. That’s why it’s important to regularly clean your floors to prevent dirt and grime that can result in scratches. If you have the machine available, it’s always best to machine scrub your vinyl floors (services we offer at Total Maintenance Services). In other cases, we can walk you through how to properly clean the vinyl floors of your business to uphold their luster for years to come.
The Basics
It goes without saying that simple messes and spills should be cleaned up immediately. Not only can letting spills settle pose a safety risk, but in the long term they can damage the integrity of your floors. Spills lead to stains, which can be even more difficult to remove. Try to have your floors mopped weekly to ensure they’re properly being maintained even if no big spills occur. When using cleaning solutions, be sure to check and see that they are safe to use on vinyl, and always spot check just in case.
As for vacuuming and sweeping, this should be done at least once a day. Both vacuuming and sweeping are good for scooping dust and dirt, which can lead to scratches over time. When scrubbing your vinyl floors, refrain from using steel wool or stiff-bristle brushes as these can scratch your material. Also remember that cleaning sometimes involves moving things around. Be careful that you’re not scratching or otherwise damaging your floors when moving heavy furniture. In other words, avoid dragging things across your floors at all costs.
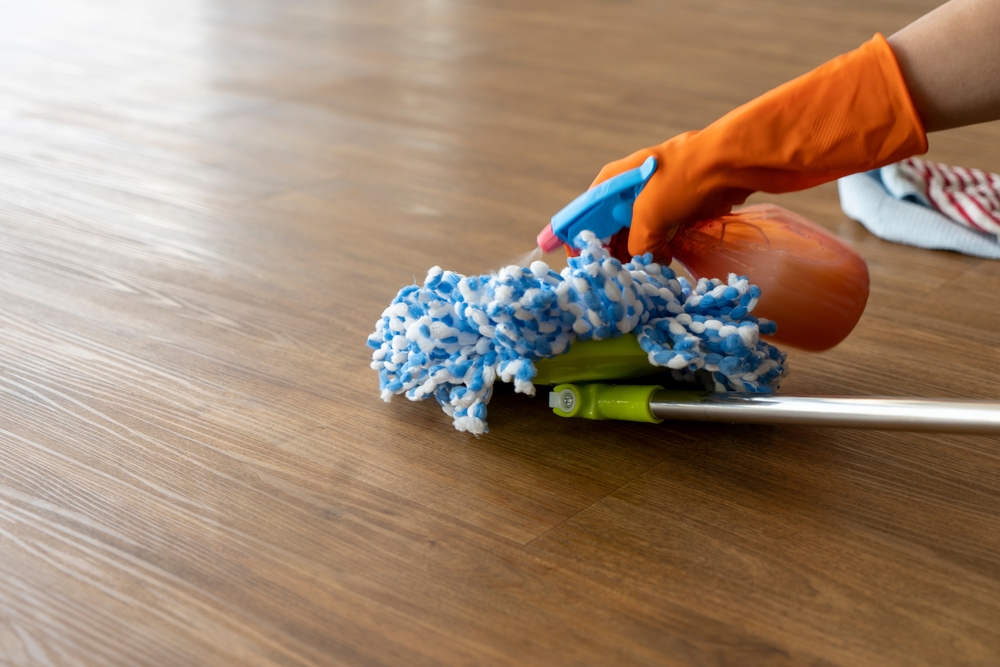
Step-by-Step Cleaning
1. Sweep and Vacuum Loose Dirt and Grime
First step in cleaning your vinyl floors starts with collecting any loose dirt and grime:
- Grab that vacuum or broom we discussed earlier and do your best to collect as much dust and dirt as possible.
- The more effective you are at this step, the easier the rest will be.
2. Prepare Your Cleaning Solution and Begin Mopping
Once all the loose dirt is collected, now it’s time to start mopping:
- Start by preparing your solution. Be wary of store-bought solutions as some might damage your floors. Absolutely, stay away from using ammonia or scouring powders.
- To play it safe, simply use warm water and a few drops of dishwashing liquid. From there, wet your mop and wring it out before starting on your floors.
- Even though vinyl is waterproof, you don’t want to oversaturate your floor. It’ll only result in another mess to clean up after.
3. Focus on Leftover Stains
Have you finished mopping and noticed there are still stains left behind? Don’t panic. That just means that they need extra attention:
- For grease stains, rubbing alcohol and a microfiber cloth should do the trick.
- When tackling food stains, create a paste using two tablespoons of baking soda and one teaspoon of water. Apply the paste to the food stains before scrubbing them away with a microfiber cloth.
- As for scuffs, try a small amount of WD-40 on the affected area and wipe it down with a dry cloth.
4. Rinse
This step only applies to exceptionally dirty floors that are still left with a residual stickiness.
- Simply combine water with white distilled vinegar and rinse your floor.
5. Let your floor dry
This one is pretty self-explanatory.
- Give your floors some time to dry and avoid walking on them for the time being.
For more advice on how to keep your vinyl floors cleans or information on our floor cleaning services, don’t hesitate to contact Total Maintenance Services.